
How to Repair Cracks in a Jet Ski Hull
Most hairline cracks in a jet ski hull can be repaired at home using fiberglass resin or plastic-specific adhesive, but structural cracks that affect hull integrity require professional attention before the watercraft is used again. The fix you need depends on whether your hull is fiberglass or high-density polyethylene plastic, since each material calls for a different product and process. Catching and repairing cracks early prevents water intrusion, foam saturation, and the kind of deep structural damage that turns a simple repair into a costly rebuild. Learn more about Jet Ski Repair.
Diagnosing the Crack Before You Touch a Tool
Start by cleaning the hull thoroughly and letting it dry completely, because dirt and moisture hide the true length and depth of a crack. Run your fingernail across the damage: a hairline crack you can barely feel is cosmetic, while a crack with raised or separated edges signals structural stress. On fiberglass hulls, look for a chalky white halo around the crack, called crazing, which means the gelcoat has flexed beyond its limit. On plastic hulls, flex the panel gently by hand — if the crack opens and closes, the plastic has lost rigidity and needs a reinforced repair rather than filler alone.
Step-by-Step Repair for Fiberglass Hulls
For a hairline gelcoat crack, use a rotary tool with a small V-bit to open the crack into a shallow groove about an eighth of an inch wide. This gives the filler something to grip. Wipe the groove with acetone on a clean rag, let it flash off, then press in a color-matched gelcoat paste with a plastic spreader. Overfill slightly, cover with wax paper to exclude air, and allow it to cure fully according to the product instructions. Wet-sand starting at 400 grit and work up to 1500 grit, then buff with a marine polish to blend the repair into the surrounding gelcoat.
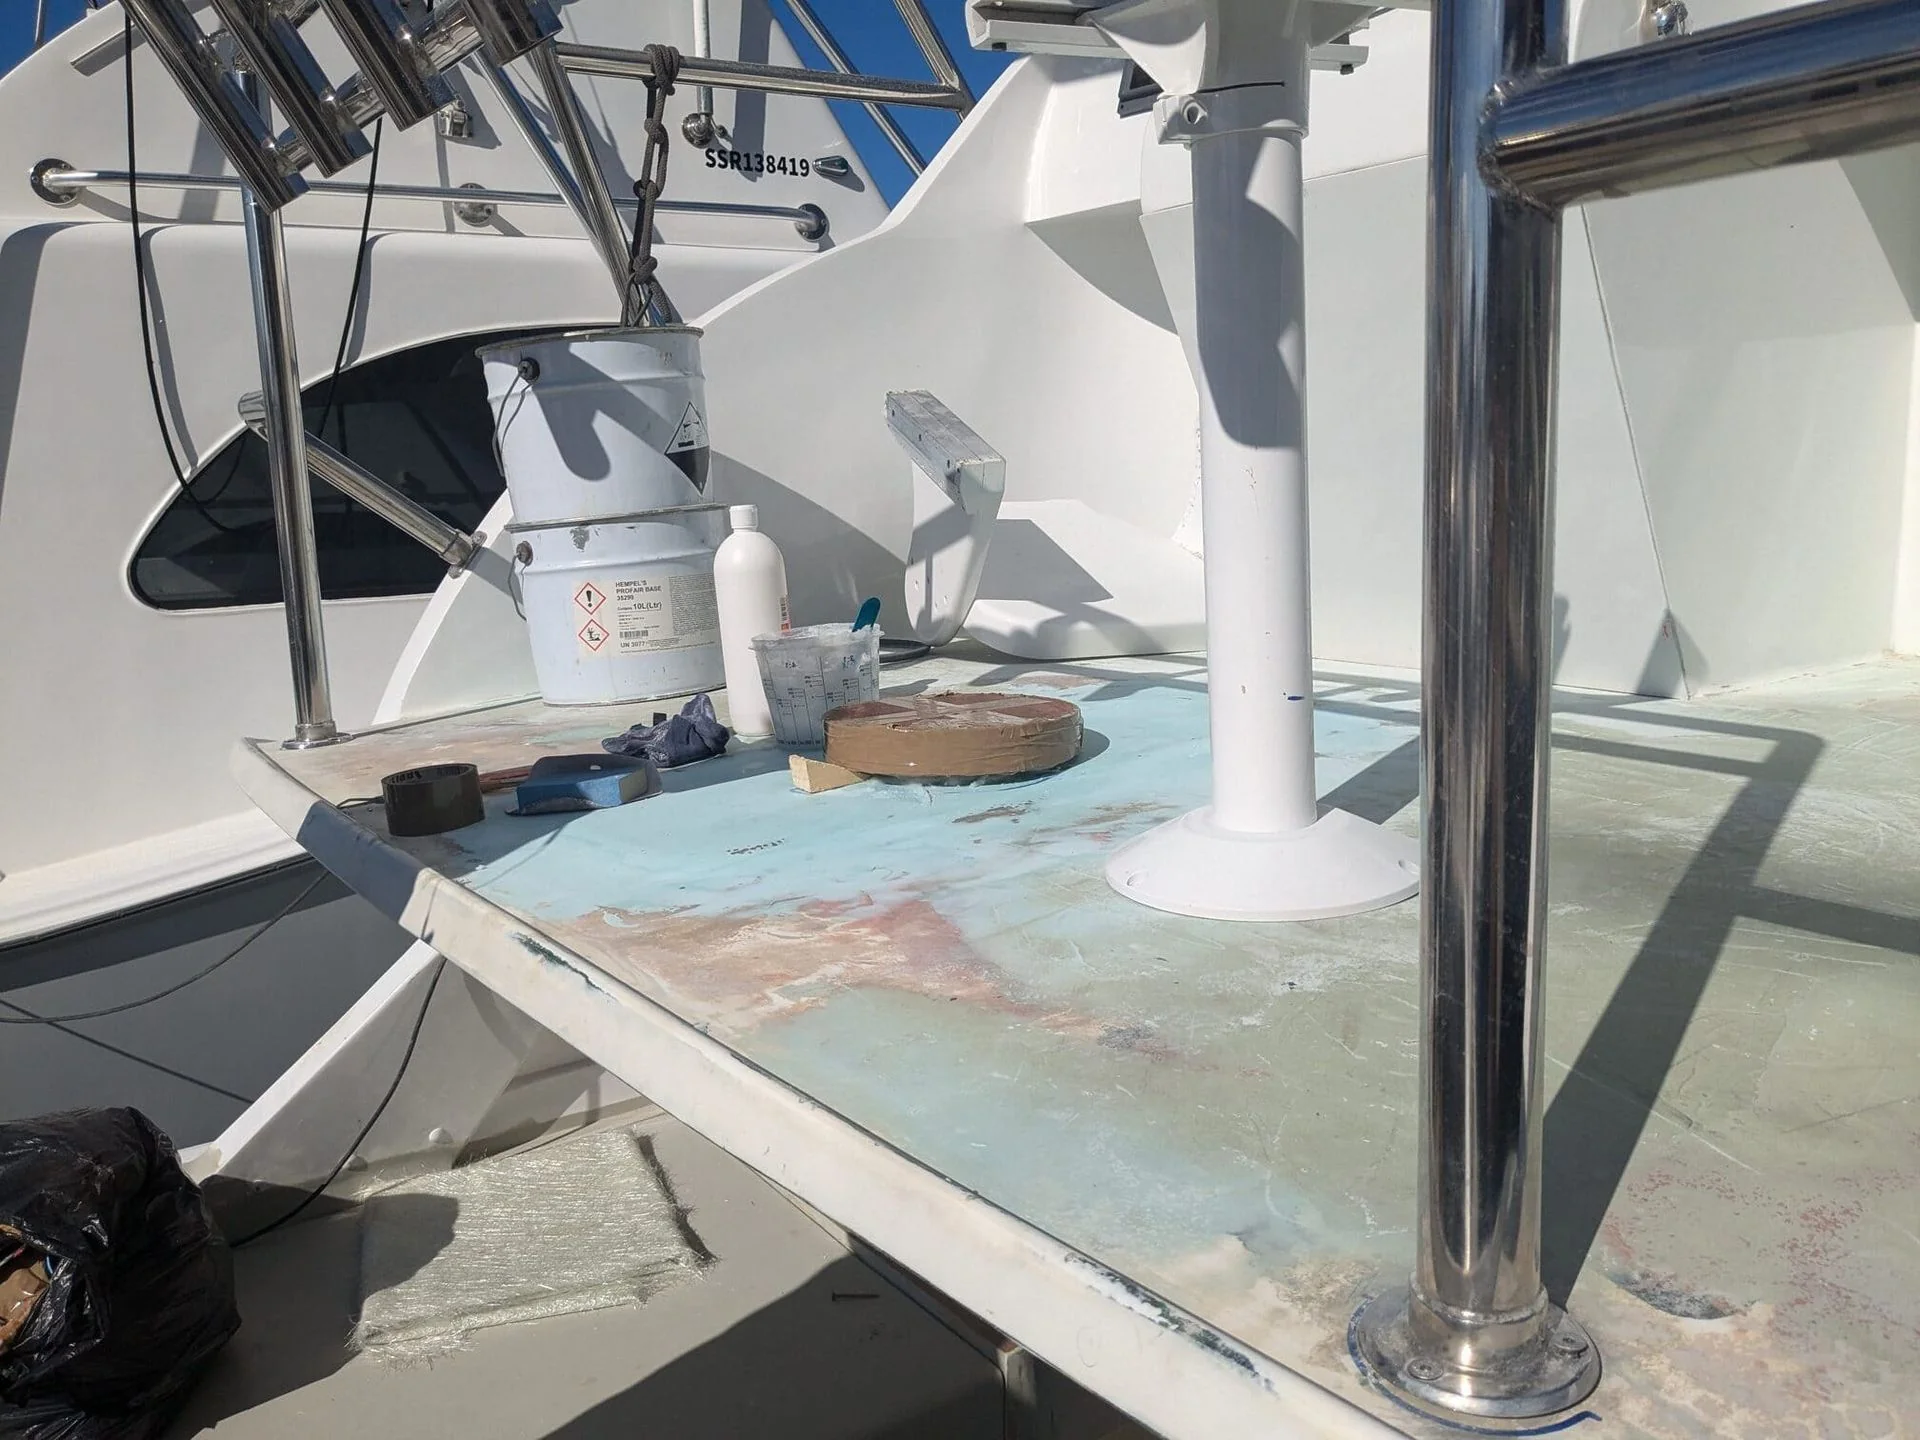
Structural cracks that go through the gelcoat and into the fiberglass laminate need a layered repair. Grind back the damaged area to expose clean, dry laminate, feathering the edges at a shallow angle. Apply a layer of fiberglass cloth saturated with marine-grade polyester or epoxy resin, smooth out air bubbles with a chip brush, and add a second layer offset from the first. Once cured, fill any surface irregularities with fairing compound, sand smooth, and finish with gelcoat. Epoxy resin bonds more strongly than polyester and is the better choice anywhere the hull sees repeated flexing or impact.
- Always wear nitrile gloves and eye protection when working with resin or acetone
- Work in a shaded area — direct sun accelerates cure time and can cause resin to blush
- Match gelcoat color using a spectrophotometer at a marine supply store or order from the manufacturer using the hull ID number
- Allow full cure before returning the craft to water — typically 24 to 48 hours depending on temperature
Fiberglass vs. Plastic Hull Repair at a Glance
The right product and technique depend entirely on what your hull is made of.
Fiberglass — gelcoat crack:
Open with a V-groove, fill with color-matched gelcoat paste, sand and buff. A straightforward DIY repair on a dry hull.
Fiberglass — structural crack:
Requires grinding, fiberglass cloth, and resin layering. Best handled by a professional if the crack runs along a stress point like the keel or sponson.
Plastic — surface crack:
Use a plastic-specific adhesive such as a two-part urethane or a product rated for HDPE. Standard epoxy does not bond reliably to polyethylene.
Plastic — through crack:
Plastic welding with a heat gun and compatible filler rod creates the strongest bond. Reinforce the backside of the panel whenever possible.
Impact damage with deformation:
If the hull is buckled or the crack is accompanied by visible distortion, the underlying foam or structural ribs may be compromised — professional inspection is needed.
Water-logged foam:
A hull that sits low or feels unusually heavy likely has saturated foam beneath the skin. Repairing the crack without addressing the foam leads to recurring damage.
When a DIY Fix Is Not Enough
If the crack is longer than six inches, runs through a structural rib, or is located near the pump tunnel, ride plate, or hull-to-deck seam, stop and call a professional. These areas carry significant load and flex during normal operation, and an improper repair can fail suddenly on the water. Similarly, if you open a crack and find soft, discolored, or wet foam underneath, the repair scope has grown beyond a surface fix — the foam needs to be removed, the cavity dried, and new foam poured before the hull is closed up. A mobile marine mechanic can bring the right materials and tools to your location, assess hidden damage, and complete a repair that meets manufacturer standards so your watercraft is safe to ride.
Related Guides
Previous: How Much Does Jet Ski Repair Cost? A Complete Price Guide | Next: What Is the Lifespan of a Jet Ski — and What Affects It?
Frequently Asked Questions
Can I use regular epoxy from a hardware store to fix a jet ski hull?
Marine-grade epoxy is formulated to resist water immersion and the flex cycles a hull experiences, so hardware-store epoxy is not a reliable substitute. On fiberglass hulls it may hold short-term but is likely to delaminate. On plastic hulls, standard epoxy typically will not bond at all because polyethylene has a very low surface energy.
How do I know if my jet ski hull is fiberglass or plastic?
Most Sea-Doo models use a composite fiberglass hull, while many older Yamaha WaveRunners and some Kawasaki Jet Ski models used high-density polyethylene. Check your owner's manual or look up the model online. You can also do a simple test: fiberglass sands to a powder, while plastic shaves into curls or strings.
Is a cracked hull dangerous to ride?
A purely cosmetic gelcoat crack poses little immediate risk, but any crack that allows water into the hull foam or compromises structural integrity is a safety issue. Water-logged foam adds weight, affects handling, and can cause the hull to sit lower in the water. Structural cracks can propagate quickly under load and should be repaired before the craft is used.
How much does professional jet ski hull crack repair typically cost?
A simple gelcoat crack repair generally runs between one hundred and three hundred dollars depending on length and color matching. Structural fiberglass repairs involving cloth and resin layering can range from three hundred to over a thousand dollars if significant grinding and refinishing are required. Plastic welding on a through crack typically falls in the two-hundred to five-hundred dollar range.
Can a cracked hull be repaired in the water or does the jet ski need to be hauled out?
All hull crack repairs require the surface to be completely dry, so the craft must be out of the water and ideally stored in a dry environment for at least 24 hours before work begins. Moisture trapped in the laminate or foam will prevent resin from curing properly and cause the repair to fail prematurely.
How long will a properly done hull repair last?
A correctly executed fiberglass repair using marine-grade materials should last the life of the hull if the craft is maintained properly and not subjected to repeated impacts in the same area. Plastic welds are similarly durable but can be more vulnerable to UV degradation over time, so applying a UV-protective coating over the repair area helps extend its life.